I am linking up to the
over at Domestically Speaking.
The cabinets in this room were originally
1980's brown cherry finish.
A little paint, some elbow grease, and left over trim
is all it took to transform them to what they are today!
Our Mud Room- After
I thought I'd be nice this week and start out
with an after photo, instead of making
you scroll all the way to the bottom!
Since this was such a huge transformation
I have a small "novella" today
full of befores, durings and afters!
Before-
Looking from the front entry
to the left wall.
Before-
Looking from the left wall
back towards the front entry.
This room was originally the
formal dining room. However, for most of its
existence, it served as a bedroom for the former family.
During-
Same view without carpet!
Looks better already????
Before-
This closet was built around the dining room's
arched nook.
Before-
View into the kitchen.
This room is open to both the front and side entry!
(I think the look on my Dad's face is something
like "you all are crazy to want to buy this"!)
Before-
On the bright side...
the room has two windows!
During-
View from the front door to the left wall and side door!
After- Same view
See.... it does get better!
During-
but before it got better.... it got worse.
We ended up gutting the majority of the house.
Can you see one of the reason's why?
(termite damage)
During-
This view is from the entry towards the left wall.
If you look at the floor you can see
the foot print of the removed entry closet.
Originally we were going to keep the hardwood
floors in this room, but after some thought,
we removed them and tiled instead.
Using the same 18" x 18" tile we
cut and laid it in three different patterns.
The entry was laid on a diagonal, surrounded
by 6" x 6" border.
During-
The majority of the room was laid in a simple block pattern.
And my favorite....
The entry by the side door was cut and laid subway style!
During
We reused the house's existing kitchen cabinets!
They were solid cherry and still in OK shape.
We simply sanded, painted and hand waxed them.
To dress them up Wayne added left over trim to both
the lower and upper boxes.
He also added corbels to give it a furniture feel!
We tiled the back splash using a glass and marble tile,
in shades of grays and whites.

It's all about the bling!
Of course,
this change called for new hardware too!
My husband is wonderful & talented....
He built the cabinet doors (the ones I'm painting)
from scratch!
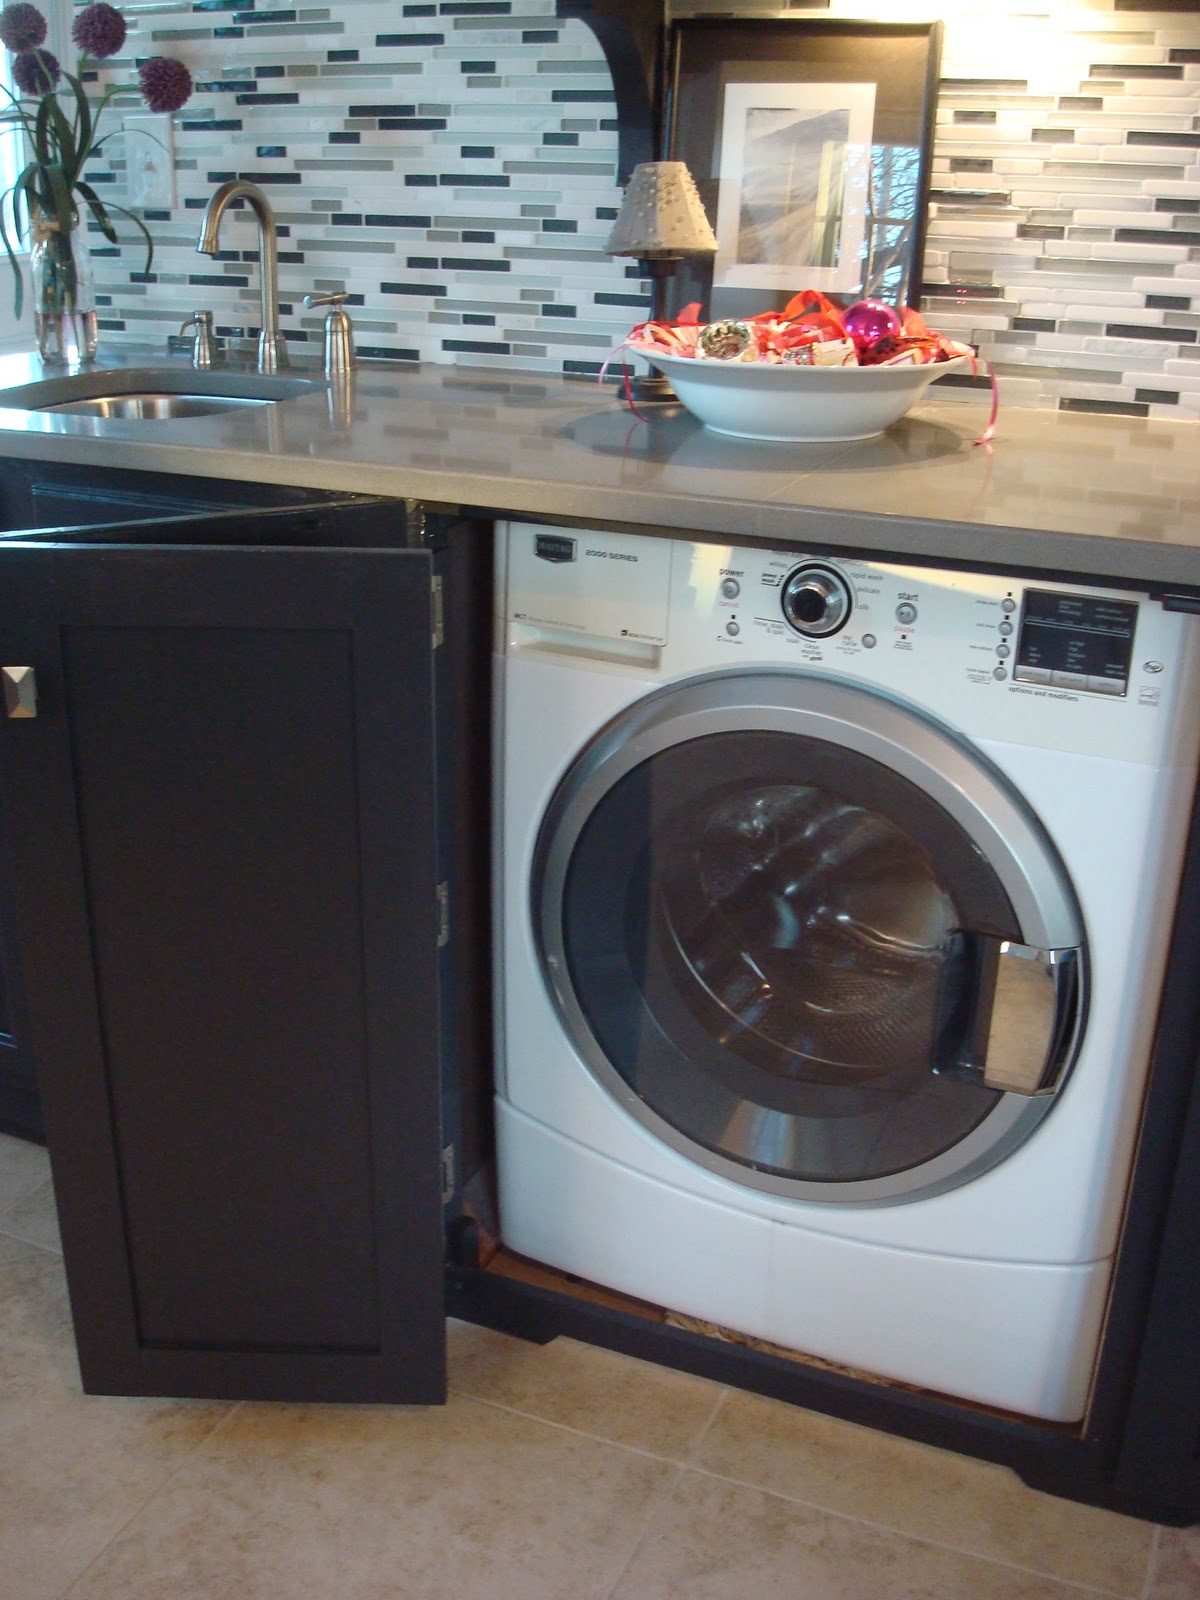
These doors cover my washer and dryer!
The cabinet wall sits out about 8" from the real back wall,
allowing us to install a full sized washer and dryer
underneath a standard depth counter.
We installed a small bar sink in this room.
This works well for prewashing laundry stains
or filling the dogs' water bowl.
Since this room opens up to the entry (living/dining room)
and the kitchen, we had wanted a room that
would look "pretty" but still be functional.
The other side of the room
now houses two large closets!
In between the closets we added this piece of furniture.
The top is the perfect place for "Piggy"
(he collects our loose change)!
This piece is actually a filing cabinet!
When downsizing,
every space needs to serve a practical function!
Looking from the side door towards the front entry!
For those of you following my blog,
you did not miss the Master Bedroom.
With all the rain and dark days,
I photographed this room instead.
over at Between Naps on the Porch!
Thank you to Susan our wonderful host!