Showing posts with label Something made. Show all posts

Thursday, May 21, 2015

Expression in Paint

 For years this blog has been a creative outlet,
but this fall, I felt called back to 
a different kind of creative expression.
My first love so to speak!

"Spring Sky"  - Oil on Board          Not for Sale

Every Wednesday morning from 9-12 since September, 
I have packed up my
art supplies and headed to a local
studio to paint, draw, and dream!

I have the privilege of working with a very talented local artist
here in Cincinnati- Greg Storer
I highly encourage you to click over to his website and
check out his studio and art work!

"First Dance"   -   Oil on Board      Sold

Greg encourage me to find something I could
paint a series of and I found dresses,
or... maybe they found me!

"Kate"   Oil on Canvas  
I graduated from college with a Fine Arts Degree,
but art had taken a back seat to life.
Not any more!
Wayne built me a wonderful new studio
here at the house so I can brake out the supplies
and paint to my hearts content!
I am hoping to occasionally share these
paintings with you.

Have a beautiful day!

"Oh, the new header photo is also on of my original paintings!"


Friday, November 16, 2012

Subway Art


photo and art from: I Am Momma- Hear me Roar

While surfing the internet I 
can across Cheri's wonderful
blog

Don't you just love her Subway Art above?

Cheri's Subway Art inspired me to try my own! 

Following her wonderful and detailed tutorial
I created this one:


This project fit all my requirements: 

Easy
Inexpensive (Under $7)
And
Allowed for Creativity!


I have made 2 more for my friend's office
and hope to post photos of them soon!

If you want to try you hand at this 
click here to go to Cheri's tutorial!

Have a Wonderful Weekend!

I am linking up to:


Sunday, September 23, 2012

As Easy As... 4 1 4

It is that time of year.....

Love the white pumpkins!
These we purchased at our local garden store!

Pumpkins are everywhere!


sweater pumpkins see here

They begin to overtake our decor....

Cinderella Dinner see here

 as they reign proudly over tabletops,

Mom's Garden

Outdoors Spaces....

Wire Pumpkins How-to see here

and mantles! 


And this year, at our house 
they have earned their numbers!


I am linking to the following parties:

over at Between Naps on the Porch

Sunday, August 26, 2012

B is for Bracelet


49 cents
Actually
 with my five dollar thrift store coupon,
this little find was 
free.

It lead a good life...
as a napkin holder
but....


It was destined for something more!

A new "foundation"...


A new "purpose"...


Some new ......


 bling!


I love when old things find....


a new life!

Disclaimer:
I love to collect and wear bracelets but
until the creation of this thrifty holder
I could not find a system that allowed for
storage but also provided a way for me to
have easy viewablity  and  accessibility.
I have been using this holder for months
and just love it! 

I am linking to the following parties:

Metamorphosis Monday at Between Naps on the Porch
Thrifty Treasures at Southern Hospitality
Making Space Monday at Debt Free Mommy

Thank you ladies for hosting such great parties!


Monday, February 27, 2012

Saturday, February 11, 2012

Guest Blogger- Duck Tape Creations

Today I am excited to introduce
 a fantastic guest blogger!
My beautiful daughter Madison!

Remember when my mom posted her blog of my room?
She asked what do you guys do with duct tape.
Well this is what I did.

Today my friend Dina and I were playing with my 
duck tape and this is what we came  up with.

 Duck Tape Roses!!!!
 Here are the instructions to create them.

 First: you cut a square of duct tape.
 Next: you take a corner and fold it up to create a L
shape. 
 Then you take a side and fold it over to make a pyramid
shape with a little rectangle at the bottom. Repeat steps with about
20 squares to make a full flower ( you can have more).
 Finally you start wrapping it around a tooth pick or pipe cleaner
to have a stem. The first one you wrap should be tightly wound
 to create the appearance of a bud. the other squares should act as petal. 
 The finished product!

 
 Me (left) and Dina (right) working on our roses.
 We also made wallets!
 Sorry I have no step by step by step direction for you.
Some of the flowers we worked on. 


I think these make the perfect gift for valentines day.

Thanks for reading my post!

I am posting this to
over at Between Naps On the Porch.

Sunday, January 29, 2012

Madison's Room

In case you missed it....
to see how far this room has come
click here!
After weeks of dark days,
the sun finally peeked it's head out yesterday!
Wanting to photograph Madison's room
I grabbed the camera and headed upstairs!
The room still shows too dark,
 but it is what it is!
Due to the sloped ceilings in her new room,
 the loft bed we had made for her old room would not fit in this one.
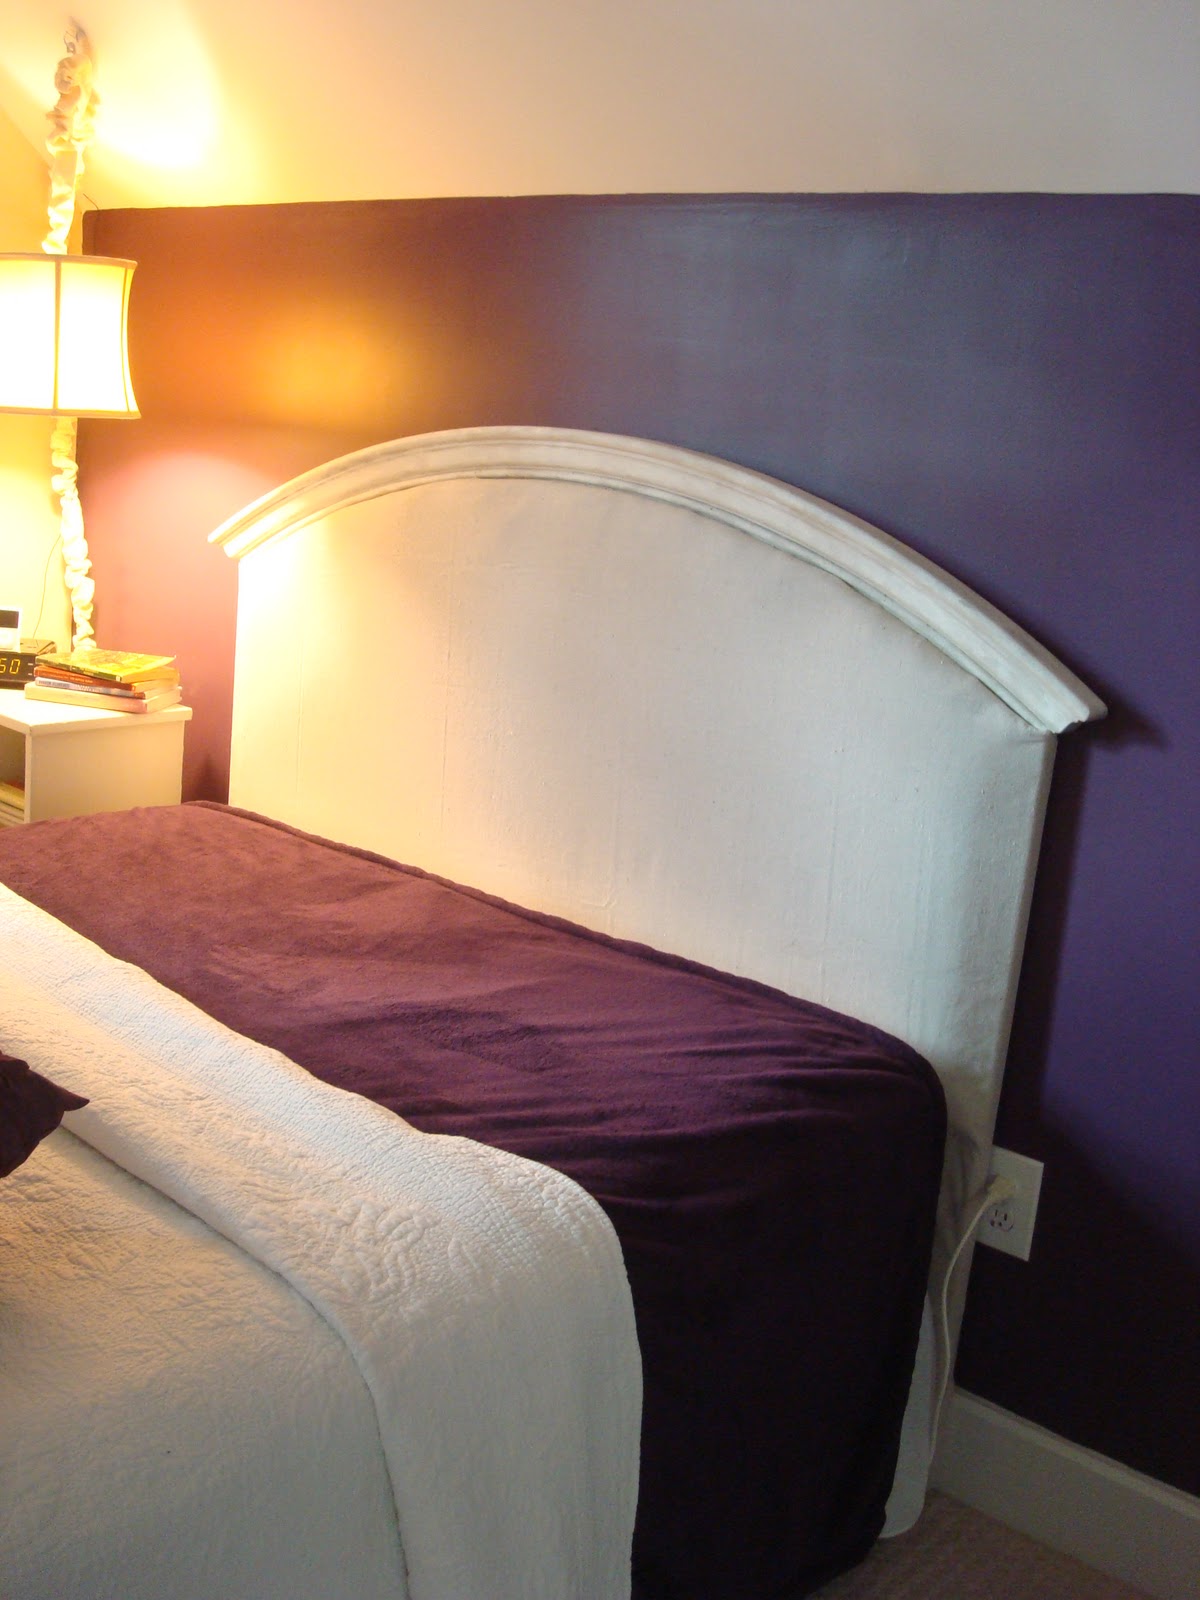
Madison fell in love with the upholstered headboards
that are popular in the stores and magazines.
Wayne and I decided to try our hand and make one!
We found a old hotel headboard at our local
Habitat Re-Store for $5.00.
It was solid, had a great shape
but was the wrong color.
I painted the wood frame
and
Wayne helped me upholster the back
with a prewashed drop cloth!
I will be posting a tutorial later this week!
We attached it to the wall,
leaving her a soft place to lean up against
 and read at night.
Madison chose deep purple
 for her accent wall and accessories. 
We also threw in a little bright green!
I made this little pillow out of a sweater.
I had made the hanging lamp for my office in the old house.
It is a combination of a Pottery Barn Outlet shade,
an Ikea light kit, and a handmade cord sleeve.
To the right of her bed is an opening to a storage area.
(Here is Wayne framing it out during rebuilding.)
And here it is today!
Wayne built this removable bookcase
 to cover the opening!
When we need to access the storage
we simply roll out the shelf!
We painted the rest of the room an oatmeal color.
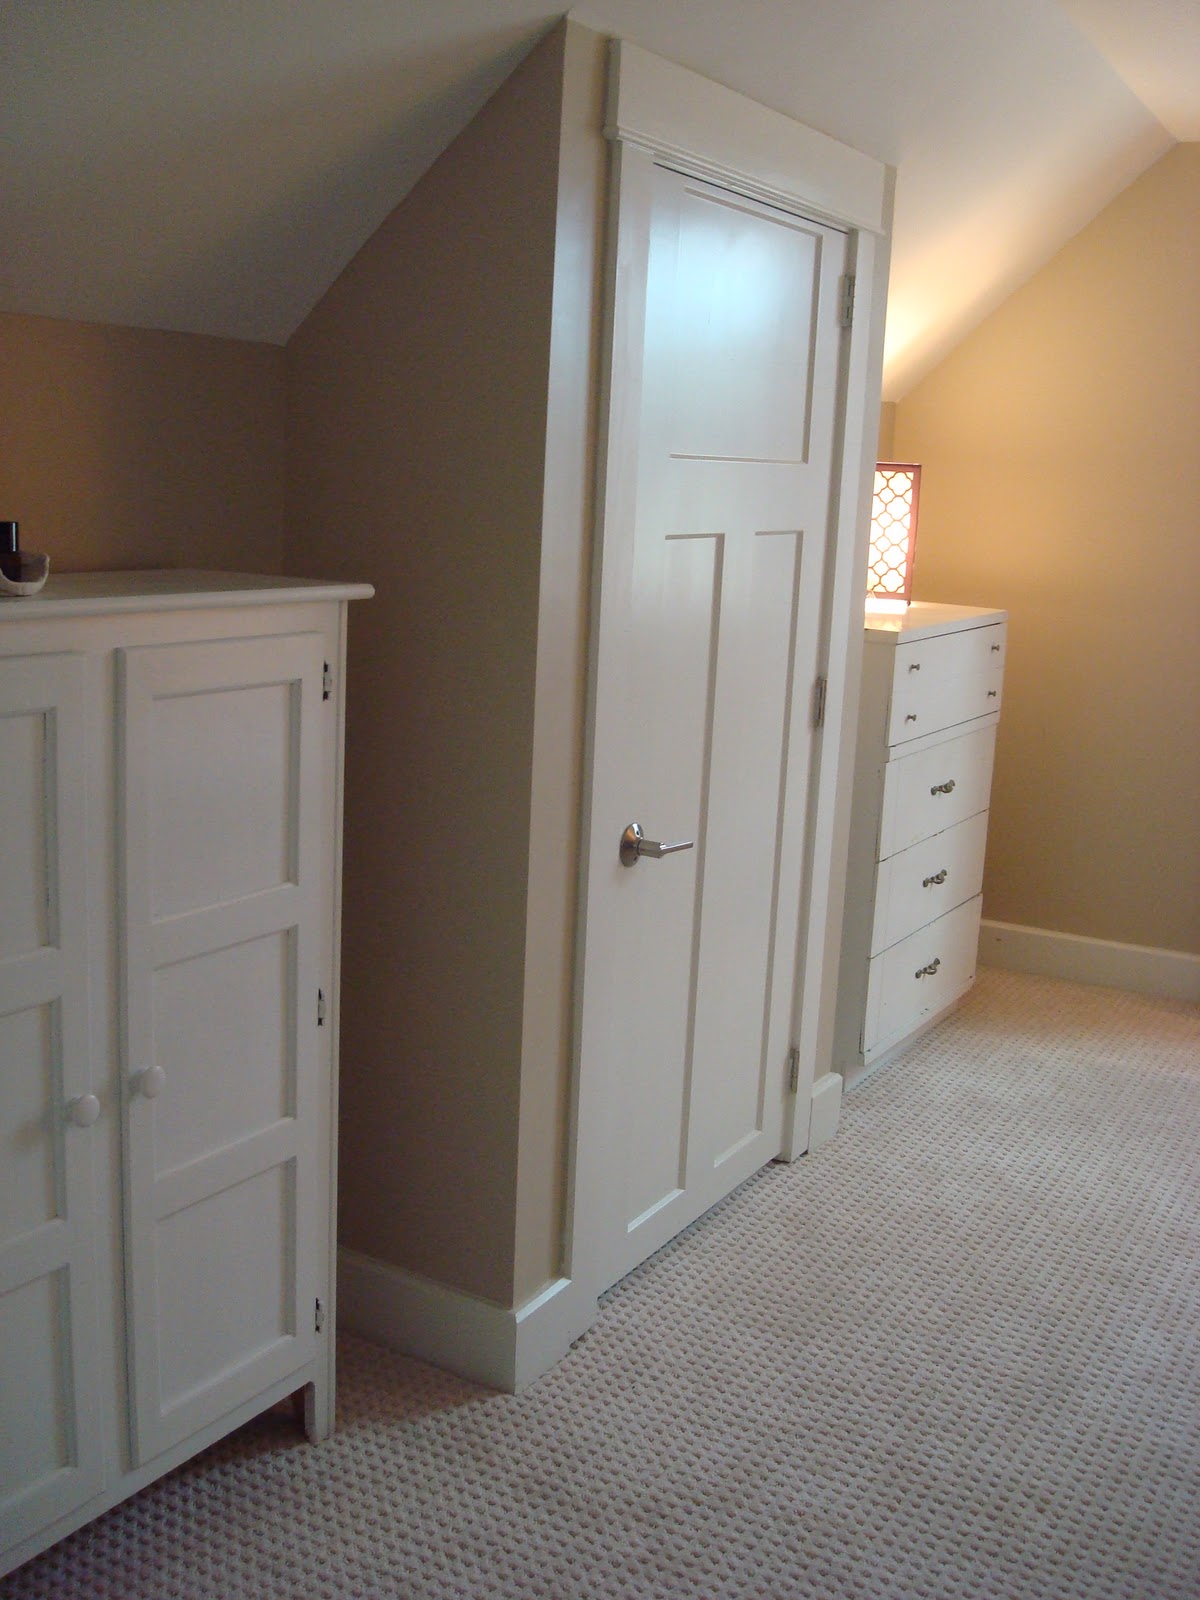
Across from the bed is this wall which
houses her dresser and bookshelf.
The door in the middle goes to her closet.
I did not take time to straighten it up
for photos, this is a photo we took towards
the end of the rebuilding phase!
We found this "shower curtain" on the clearance rack
at Bed Bath and Beyond.
It was the kick off piece for the colors in the room!
I cut the shower curtain in half
and hemmed down the middle.
I paired it with some lighter purple panels
I found on the clearance rack in Lowe's!
The longer panels form a boarder around the
shorter panels.
I simply hung both curtains with clip rings.

Do your kids collect colored Duct Tape?
On Madison's dresser is this adorable lamp.
My mom found it at TJMAXX
along with the purple pillows on Madison's bed!
Madison has some plans for her room that
we are still working on... so more to come!
She wants a built in desk where the dresser currently is!
We are also needing to add art work on the walls!

Hope your week is great!

I am linking to the following parties this week:

at Between Naps on the Porch

Savvy Southern Style

at DYI by Design

Overflowing with Creativity
at It's Overflowing!